User Roles & Permissions
This page provides a comprehensive guide to user roles, their permissions, and step-by-step instructions for adding new users. Understanding these roles is essential for maintaining proper access control and ensuring data security.
Role Permissions
The table below outlines the specific permissions granted to each default user role, Supervisor and User, within the system.
| Permission | Supervisor | User |
|---|---|---|
| View all Invoices | Yes | No |
| Create Invoices | Yes | Yes |
| View Transactions | Yes | No |
| Process Refunds | Yes | No |
Adding a New User
To add a new user to the system and assign their respective role and permissions, follow these step-by-step instructions:
-
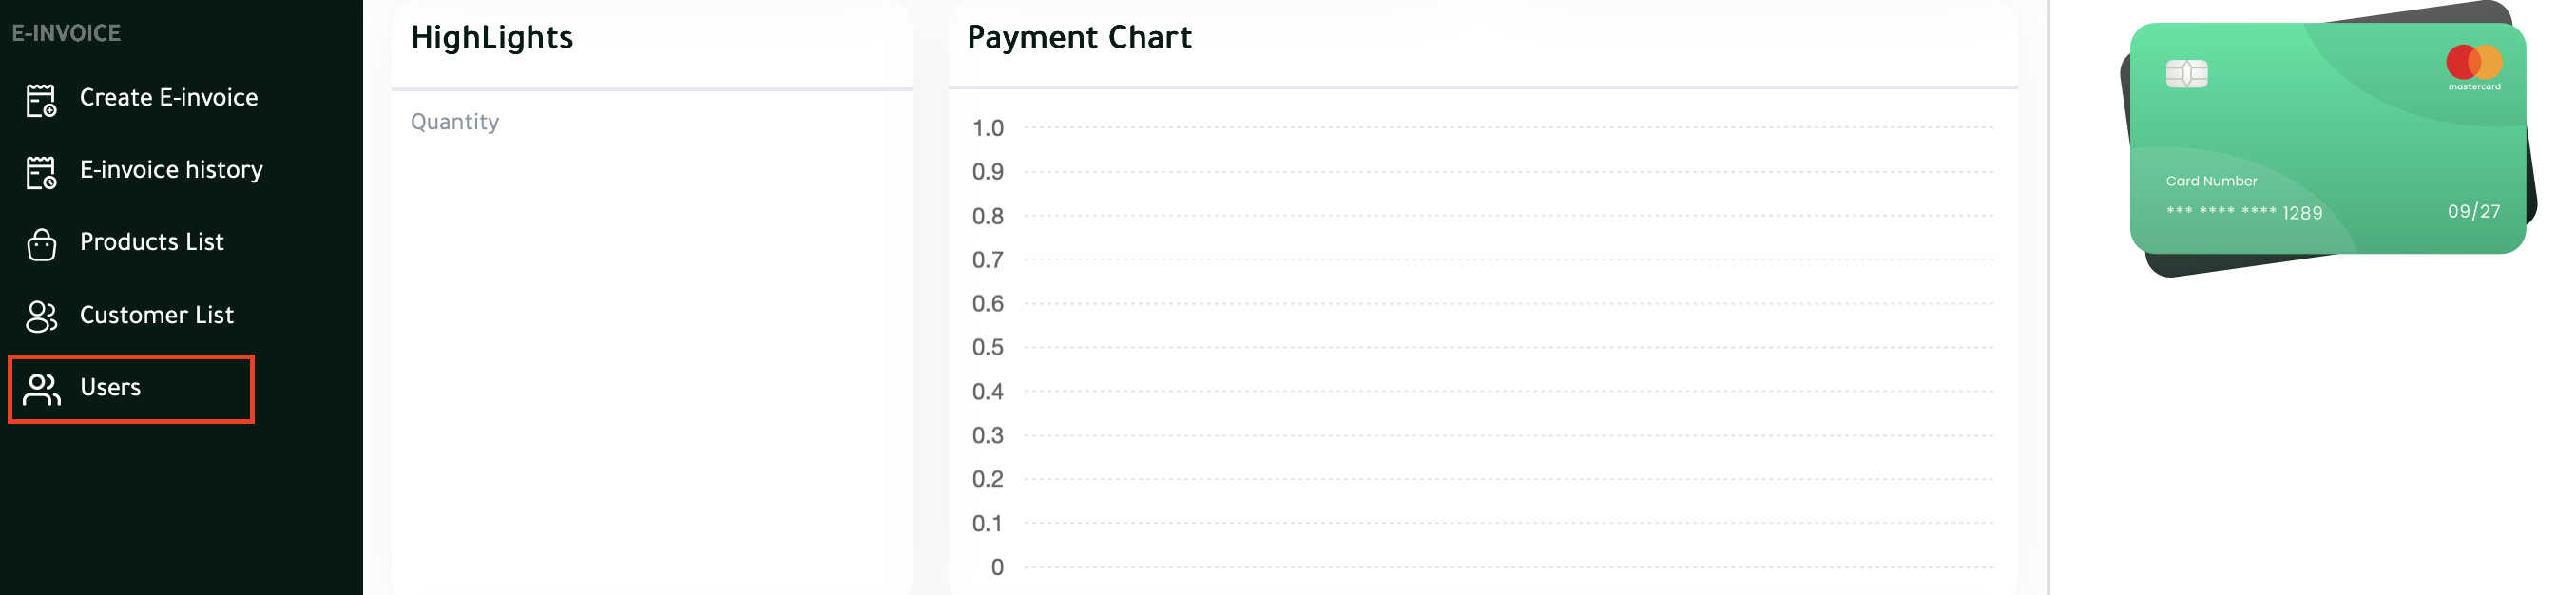
In the side menu, click on User.
-
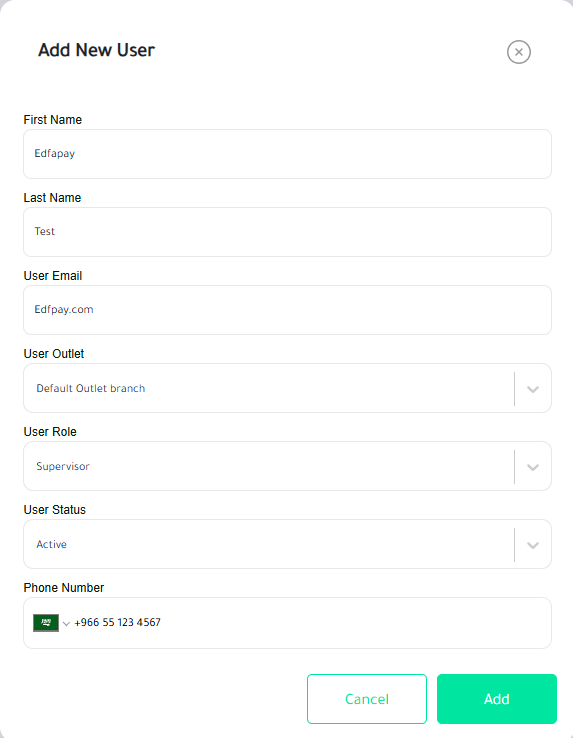
Click on the Add User icon to open the new user form.
-
Fill in the Add User Form with the required details:
-
First Name: Enter the user’s first name.
-
Last Name: Enter the user’s last name.
-
Email: Enter the user’s email address. This must be unique to prevent conflicts.
-
Phone Number: Enter the user’s phone number. This must also be unique.
-
User Outlet: Select the default outlet or branch the user will be associated with.
-
User Role: Choose between User or Supervisor, depending on the access level required.
-
Status: Set to either Active or Suspended to control immediate access.
-
-
-
Once all fields are accurately completed, click Add to create the new user account.
Notes:
- Email and Phone Number must be unique for each user.
- Make sure to assign the correct Role before saving.
Updated 8 months ago